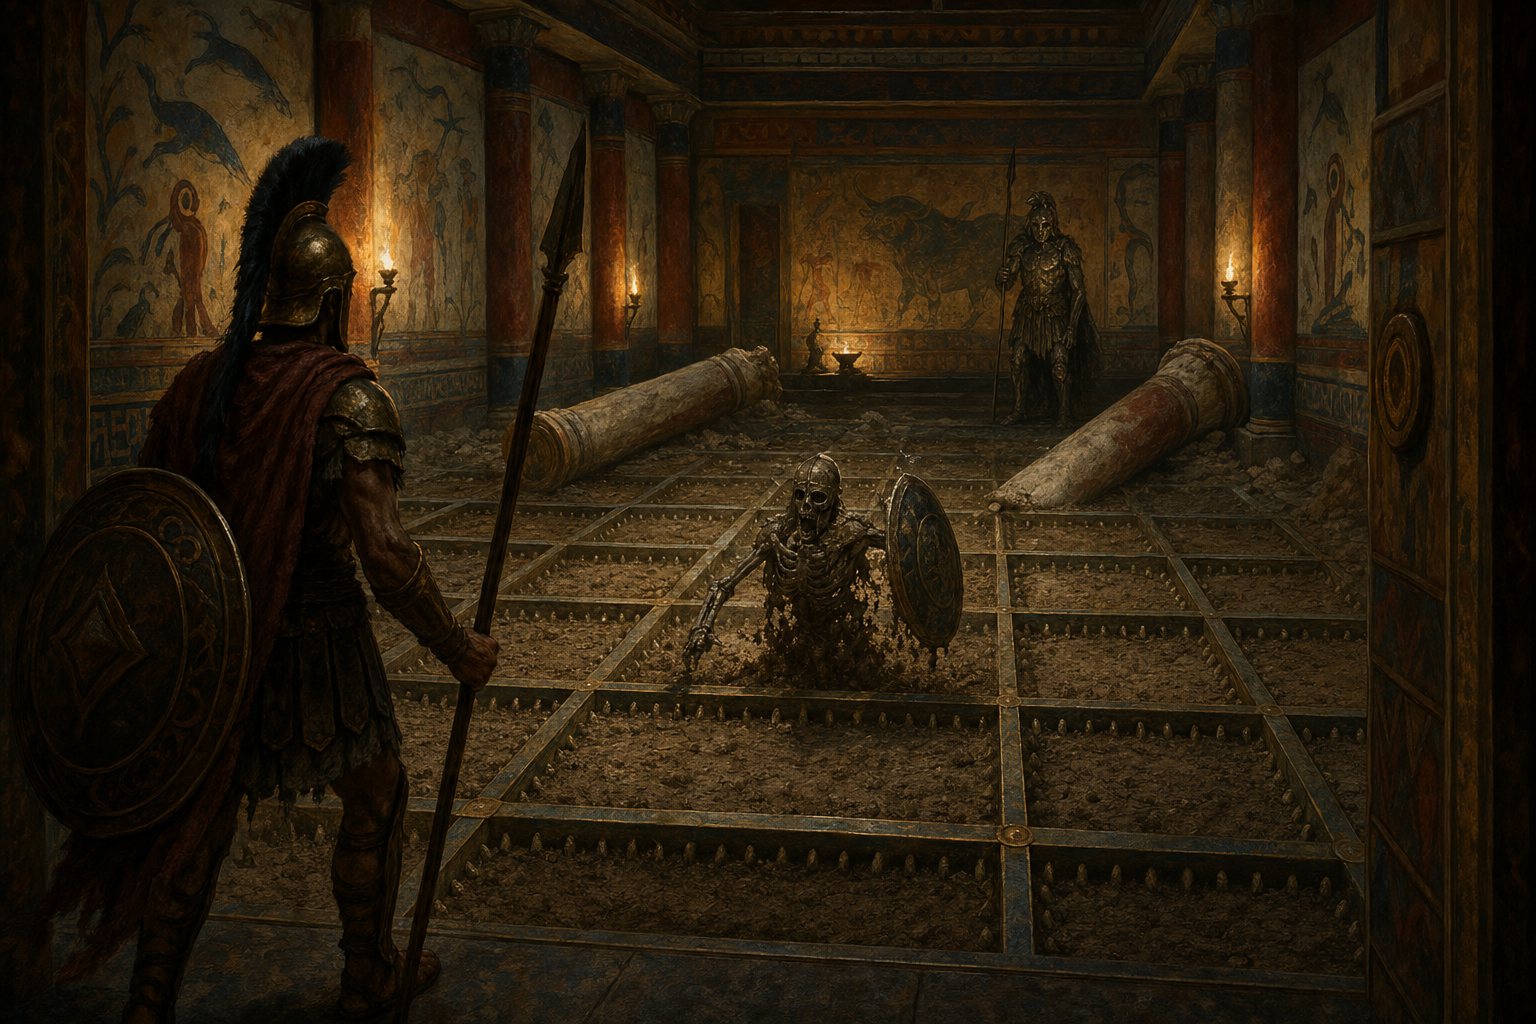
The floor of this hall is cut in a grid of shallow grooves, bronze-lipped, and every groove is seeded with teeth. Some are a beast's. Some are not. A lamp gutters in a wall-bracket at the far end, and where its light reaches, you can see that the teeth nearest the door have already been disturbed — as if something stood up out of them and walked away.
Then, very faintly, from underfoot: the sound of enamel grinding on stone.
DM summary. The maze's welcome mat. A sowing floor that grows a hoplite a round until the party works out that the mechanism, not the skeletons, is the enemy — and the first room that teaches your table that every room has a way past it if they look.
Terrain & Features
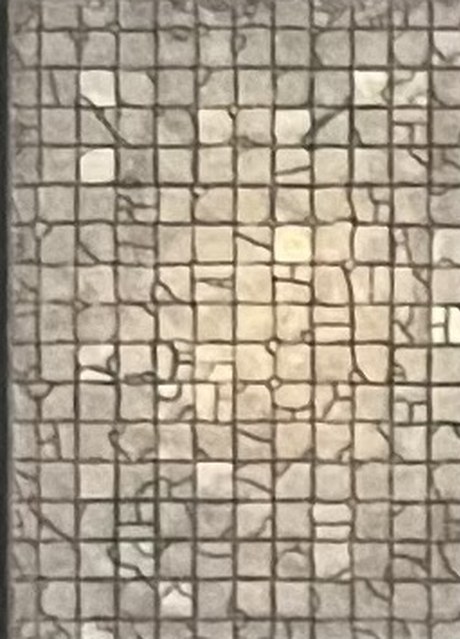
Battle map: The Worn Court — page 1, 55 × 75 ft (one half of The Grey Flags)
Draw the hall at 50 × 40 ft on the blank flags, then rule the nine bronze-lipped grooves down its length and shade the two fallen columns diagonally across the middle. Mark the hopper and lamp on the north wall.
- Dimensions. 50 ft × 40 ft, ceiling 20 ft. The party enters at the short south wall.
- Light. Dim throughout, from one oil lamp in a bronze bracket on the north wall. Darkness beyond 30 ft of it. The lamp can be taken.
- The sowing floor. Nine grooves, each 2 ft wide and 6 inches deep, run the length of the hall in a grid. They are packed with teeth and dry earth. The grooves are difficult terrain and anything that starts its turn standing in one has disadvantage on its next Dexterity save.
- The hopper. A bronze funnel the size of a wine jar is set into the north wall behind the lamp, with a slow-turning screw at its base feeding teeth into the grooves. This is the actual encounter. See Traps / Puzzles / Checks.
- Cover. Two fallen columns lie diagonally across the middle of the hall — half cover along their length, and a 5-ft climb to stand on one.
- The gallery. A ledge 10 ft up runs along the north wall, 4 ft deep, ending at a stair-head. Nothing on the floor can reach it without climbing, and the hoplites will not climb.
Encounter
Six bodies to start, and one more every round until the hopper stops.
| Count | Creature | XP each |
|---|---|---|
| 4 | Bronze-Tooth Hoplite | 700 |
| 1 | Dragon-Tooth Serjeant | 1,800 |
Base 4,600 XP; ×2 for five bodies = 9,200 adjusted, against the APL 9 Hard budget of 9,600. The spawn clock is deliberately outside that number — it is the room's pressure, not its budget, and a party that ignores it will be fighting a Deadly encounter by round four.
The spawn clock. At the end of each round, the screw turns and one groove sprouts a Bronze-Tooth Hoplite, rising up in a crouch and acting on the next round. Maximum six extra. The clock stops the moment the hopper is jammed or broken.
Round 1. The Serjeant is already standing when the party enters, at the far end, hands on a planted spear. It does not charge. It waits for the line to grow behind it, blows the horn on round 2, and only advances once it has four bodies either side. The four starting hoplites rise from the grooves nearest it on initiative — this is a shield wall forming, not a swarm.
Tactics. The hoplites are only dangerous in contact with each other. They advance in a line, never break formation to chase, and step into a fallen comrade's place rather than pursue. The Serjeant holds the middle of the line and sows fresh teeth behind it. Nothing here has a ranged attack except thrown spears, and nothing here will follow the party out of the room.
Bypass Options
The mechanism is visible from the door to anyone who looks at the wall rather than the floor: passive Perception 15, or Investigation DC 14 on a deliberate look.
- Reaching it: the hopper is 40 ft away along the north wall. Moving there along the wall, outside the groove grid, draws no attention until round 2.
- Jamming it: Thieves' Tools DC 15, Strength (Athletics) DC 16 to bend the screw, or any spell that shapes earth or stone, no check. A javelin driven into the screw works and is destroyed.
- Success: the spawn clock never starts. The fight is the five bodies on the floor and nothing more — a Medium encounter, and the party should feel clever about it.
- Failure: the screw skips a tooth and the grooves sprout two hoplites this round instead of one. A second attempt is allowed.
- Cost of doing it mid-fight: whoever goes for the hopper is alone at the far wall with the Serjeant between them and the party.
The ledge is out of spear reach and the hoplites will not climb.
- Getting up: Athletics DC 13 to climb the north-west corner, or a 10-ft jump from atop a fallen column (Athletics DC 15), or any climb speed or flight, no check.
- Crossing unseen: group Stealth DC 14. Nothing on the sowing floor animates until a living thing steps into a groove, so a party that stays off the floor entirely can reach exit C without a fight.
- One failure: the Serjeant rises and blows the horn. The party has one round of grace on the ledge before the line forms below them — enough to keep going.
- Two failures: four hoplites rise and the party is fighting from a 4-ft ledge, which is a genuinely bad place to be. Give them the option to drop back and take the room properly.
- Withdrawing instead: the party can simply leave through the door they came in. The room does not follow. They lose this room's Resolution clue, and you should still charge them the time.
Traps / Puzzles / Checks
The hopper (the room's real mechanism).
| Element | Value |
|---|---|
| Spotted by | Passive Perception 15, or Investigation DC 14 |
| Understood by | Investigation DC 13 once seen, or any Arcana/History check on the sowing motif |
| Jammed by | Thieves' Tools DC 15, Athletics DC 16, or earth/stone magic (no check) |
| Broken by | 15 damage to the screw (AC 15), which stops it permanently and loudly |
| Solved state | The screw stops turning; no further hoplites rise, and those already up keep fighting |
Stepping in a groove is what wakes the floor. A party told "the grooves are seeded" who walks the grid anyway has triggered this fairly, and you should say so plainly the first time: "You feel a tooth turn under your heel."
Exits
One roll on the loot table, earned either way:
- After the fight: the Serjeant's kit — no check. Strip it and roll.
- Without the fight: the tooth-pouch hanging at the hopper, Sleight of Hand or Investigation DC 13. Roll on the same table.
The teeth themselves are not loot. A player who pockets a handful has pocketed a problem, and you are entitled to enjoy that later.
Scaling — APL 6 / 12 / 15
| APL | Adjustment |
|---|---|
| 6 | Drop the Serjeant to a fourth hoplite. Spawn clock every other round, four extra maximum. All DCs −2 |
| 9 | As written |
| 12 | Six starting hoplites, and the Serjeant gains a second attack. Spawn clock unchanged, eight extra maximum. DCs +1 |
| 15 | Two Serjeants, eight starting hoplites, spawn clock twice per round, and the hopper repairs itself after two rounds unless broken outright. DCs +3 |
- This is often the first room a table ever sees, and it is doing a job. It teaches, in order: rooms have mechanisms, mechanisms beat monsters, and every room has more than one way out. Do not skip naming all three exits.
- If you are behind schedule, start the spawn clock stopped — a jammed hopper the party finds already broken — and run it as a straight five-body fight. Eight minutes.
- If the party is fresh and cocky, let the clock run one round longer than feels kind. This is room one of nine; a little fear here is an investment.
- Do not let this become a grind. Once the hopper is dealt with, the remaining hoplites should fold in two rounds. If the party has clearly won, say the line breaks and move on.
- Table safety: the room is skeletons and teeth, which is a low-intensity horror register. If anyone at the table is squeamish about bodies, the teeth can be bronze castings rather than remains with no mechanical change.
- Clue drip. The Whisper-tier clue for whichever Resolution you rolled goes on the way out, not the way in. Two that fit this room especially well: a single grey feather caught in the lamp bracket (X17), or a frayed red thread knotted around a tooth in the northern groove (X10).
- Warband consistency. Sown Bones (W01) fields seven rooms in this deck. If your table meets them again, the shield wall and the "steps into a dead comrade's place" behaviour should be recognisable. That recognition is the reward for paying attention.
Creature Cards
Both belong to Sown Bones (W01) and recur across the deck, so the numbers live in the bestiary. The tactics above are this room's and stay here.
Shared across rooms, so the full cards live in the bestiary: Bronze-Tooth Hoplite, Dragon-Tooth Serjeant. Every mention above opens the numbers here on this page.