The Split Herd
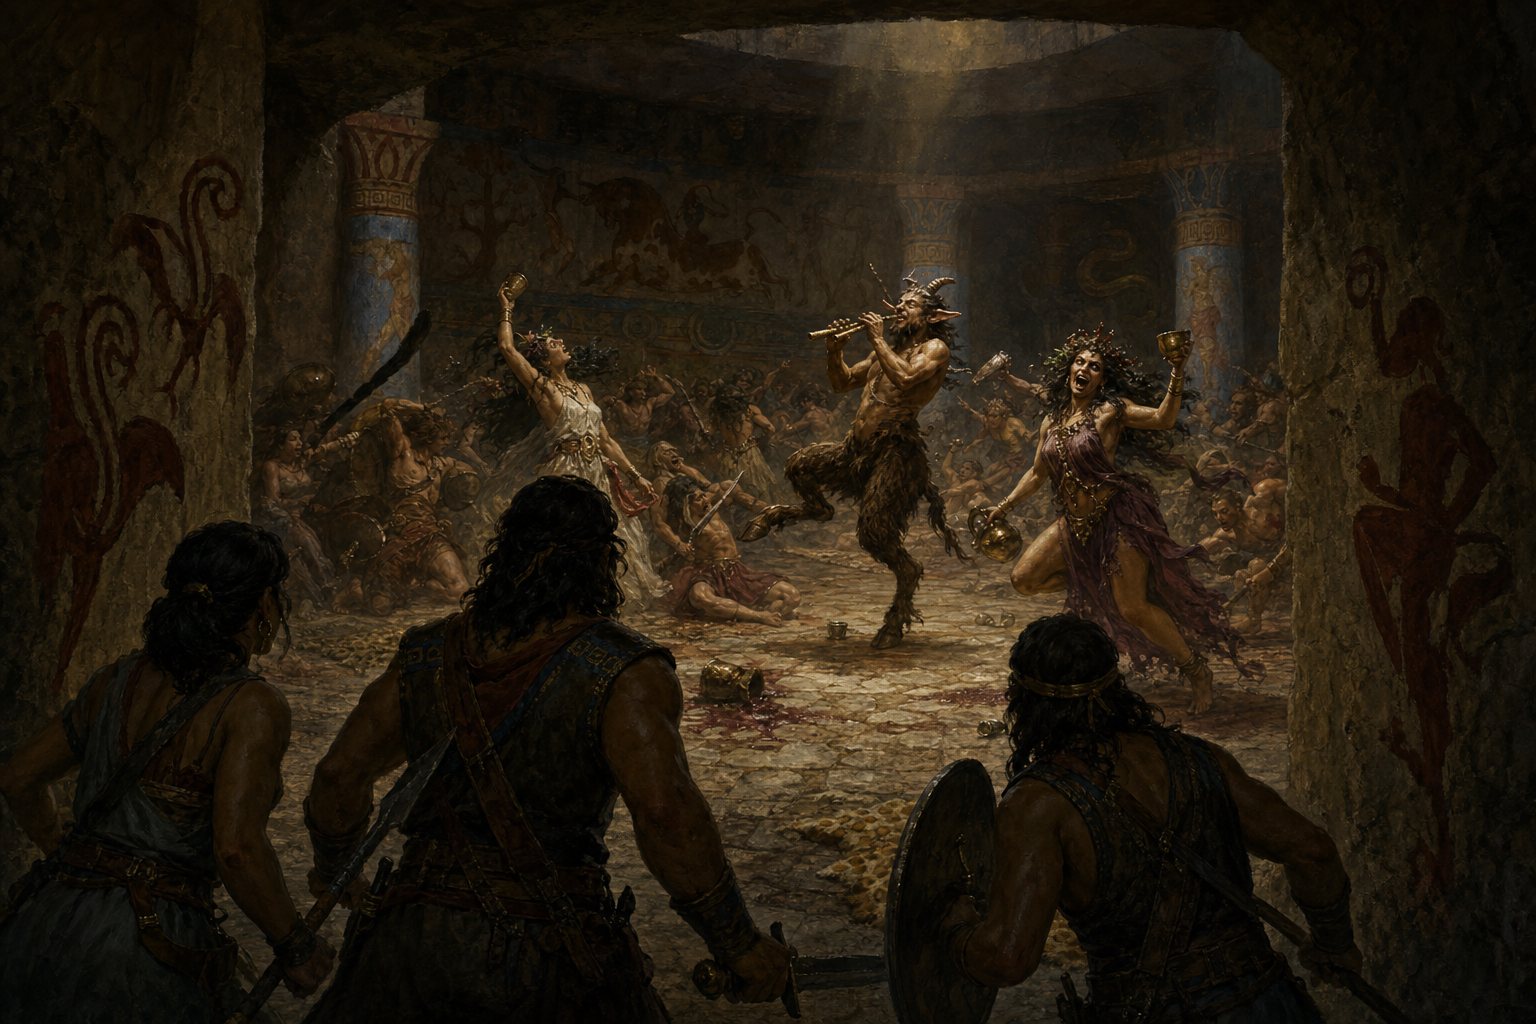
You hear it before you see it: hooves on stone at a gallop, a set of pipes being played badly and very loudly, and somebody laughing in a way that has gone past funny. The cavern in front of you is eighty feet across and there is a brawl happening in it.
Two centaurs are working the long axis at a canter, loosing arrows and shouldering anything that gets close. Three others — a piper and two women with vine in their hair and no armour at all — are holding the broken ground at the near end, throwing stones and screaming abuse. Nobody has noticed the doorway you are standing in.
DM summary. One warband having an argument with itself. The party can pick a side, cross the middle, buy both sides off with wine, or start something with everybody — and only the last of those is a mistake.
Terrain & Features
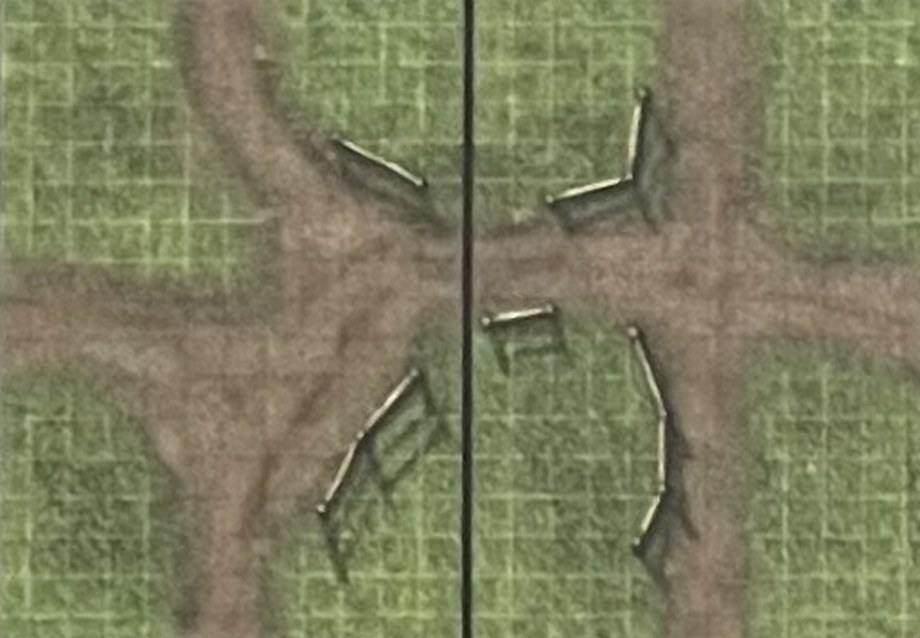
Battle map: The Crossroads — pages 13 & 14, 110 × 75 ft
The crossroads reads as the cavern floor: the long east–west road is the 80-ft trample lane, packed and clear. Chalk the northern third as fallen-ceiling blocks (difficult terrain), put the bonfire at the junction, and use the fence clusters as the herd's windbreaks.
- Dimensions. 80 ft × 50 ft, ceiling 25 ft.
cavernous: there is room here for archery, charges, and flight, and all three happen. - Light. Three fires: a stacked bonfire in the middle and two small ones at the ends. Bright in the middle, dim at the edges, and the smoke pools at the ceiling.
- The long axis. Eighty feet of clear, level rock down the cavern's spine. This is the trample lane and the centaurs use the whole of it: they charge, loose, wheel at the end, and come back. A creature in the lane when a centaur charges makes a Dexterity save DC 14 or is knocked prone and takes 2d6 bludgeoning.
- The broken ground. The northern third is a field of fallen ceiling — chest-high blocks, difficult terrain, and total cover in a dozen places. The satyrs hold it because horses cannot fight in it, and they are correct.
- The bonfire. 10 ft across, burning furniture and cask-staves. Anything shoved into it takes 2d10 fire, and both factions know it is there.
- The casks. Nine against the south wall, four of them full. This is what the argument is about, and it is also the party's best bypass and its loot.
- The ledge. A shelf 12 ft up along the south wall, 4 ft deep, reachable at either end (Athletics DC 12). Out of trample reach; not out of arrow reach.
Encounter
Five bodies in two factions, already fighting each other, and the party's decision is which of those numbers it wants to add itself to.
| Count | Creature | XP each |
|---|---|---|
| 2 | Centaur of the Split Herd | 2,300 |
| 1 | Satyr Piper | 1,100 |
| 2 | Maenad of the Vat | 700 |
Base 7,100 XP; ×2 for five bodies = 14,200 adjusted — which is a hair under the APL 9 Deadly line of 14,400, and the reason this room is rated Hard rather than Deadly is that it is built so the party never faces all five at once. Say so at your table if they announce they are attacking everybody; then let them, and let the number be what it is.
The intended shapes:
- Party joins the satyrs: they fight two centaurs — 4,600 base, ×1.5 = 6,900 adjusted — in broken ground, with three erratic allies and a trample lane between them and the exits.
- Party joins the centaurs: they fight three satyrs — 2,500 base, ×2 = 5,000 adjusted — with two mounted allies who will absolutely shoot through them.
- Party crosses without joining: no XP, one of the crossings below, and the room's full loot roll still available.
Either faction fight sits under the Hard budget on paper and lands on it in play, because the crossfire never stops: arrows down the lane, thrown stones out of the rubble, and a bonfire in the middle that everybody is willing to use.
Why they are fighting. The centaurs came for the casks. The satyrs got here first and have been drinking them. Neither side wants a war and both sides are enjoying this more than they will admit. Nobody here has died yet and it has been going twenty minutes — which is the single most useful thing the party can notice, and Insight DC 12 hands it to them: this is a brawl about wine, not a battle.
Round 1, whatever the party does. The brawl carries on with or without them. Run the factions as a standing hazard on their own initiative count: on count 20, one centaur charges the length of the lane; on count 10, the piper's tune shifts and one maenad throws something heavy. The party may act around that. The moment any party member attacks either faction, that faction's whole strength turns on them and the other faction cheers.
Tactics. The centaurs are mobile archers with a trample and will parley mid-fight if offered wine or a fair word, right up to the last hit point. The pipes are the satyrs' entire advantage and the piper is the softest target in the room (see Checks). Maenads do not surrender and do not pursue, because they will not leave the casks.
Bypass Options
Both factions want the same thing and the party may be carrying it.
- What works: any real wine — a wineskin, an amphora, a skin of anything strong. No check if the party has genuine drink and offers it in the open; Persuasion DC 13 to broker it with words alone, or DC 10 if the offering is set down in the middle of the floor first.
- Success: the brawl stops in two rounds. The centaurs take the drink as the concession they were after, the satyrs take the fact that they were not made to hand over the casks, and the party is adopted by both — passage, and one faction will walk them to an exit of their choice.
- Cost: you lose the wine, and you will spend ten minutes being toasted. If your party has no wine, the maenads will take any consumable offered in good faith (a potion counts, and hurts, and they will drink it anyway).
- Failure: a fumbled offer insults the centaurs, who are the proud half of this argument. They break off from the satyrs and put themselves between the party and the exits — the two-centaur fight, on their terms, in the lane.
The centaurs run the lane on a rhythm and the rhythm has a hole in it.
- The cadence: a centaur charges the length of the cavern on initiative count 20 of every other round, and spends the round between wheeling at the far end. Perception DC 11 or one round of watching gives the party the beat.
- Crossing: move on the wheel-round, along the south wall under the ledge, at half speed: group Stealth DC 13 — the brawl is deafening and nobody is looking at the walls — or Athletics/Acrobatics DC 14 to simply sprint it and accept being seen.
- One failure: a maenad spots them and shouts, which is not the same as being attacked. The party has one round before the nearest faction takes an interest.
- Two failures: a centaur wheels early. Trample save, and then whichever faction the party is closest to decides they are with the other one.
- Cost of doing it under the ledge: single file and no bulky loads, and the party passes within 15 ft of the casks without being able to stop and take any.
- Withdrawing instead: the party may back out of the doorway and leave the way they came. Neither faction follows — leaving the cavern means leaving the wine — and the cost is a wandering-threat roll and this room's loot.
Traps / Puzzles / Checks
Stopping the pipes is not a bypass; it is a lever on the fight, and it works for whoever pulls it. The pipes are an object: AC 13, 10 hit points, and any effect that silences a 10-ft area does the same job. When they stop:
- The maenads lose their charmed fearlessness and become two unarmoured people in a cave fight. They keep fighting anyway. They are not brave because of the music; they are capable because of it.
- The centaurs immediately press their advantage, and if the party is not on the centaurs' side, they are next.
Exits
One roll on the loot table, and it comes off the casks.
The four full casks are the argument, and whoever the party ends up on good terms with will let them tap one. Conditions, any of which earns the roll:
- Brokered peace or paid in wine: the roll is free and offered.
- Sided with either faction and won: the survivors share out, no check.
- Crossed neutrally: Sleight of Hand or Stealth DC 14 to lift something from the cask stack in passing; a failure is a maenad's hand on your wrist and a very cheerful accusation.
A hauled-out cask is the best bargaining chip in this maze. It has bought the party a bypass in some later room, and you should honour that when they try it.
Scaling — APL 6 / 12 / 15
| APL | Adjustment |
|---|---|
| 6 | One centaur, one piper, one maenad. No trample hazard on the lane — the single centaur charges but does not knock prone. DCs −2 |
| 9 | As written |
| 12 | Three centaurs, one piper, three maenads, and the bonfire is being fed: at the end of every third round it flares and the middle 15 ft of the cavern becomes hazardous. DCs +1 |
| 15 | Four centaurs, two pipers, four maenads, and the brawl has spread — the trample lane is charged every round, from alternating ends. At this scale the crossing bypasses are the only sane play and the arithmetic of joining in is openly Deadly. DCs +3 |
- Pacing: twenty minutes. When you are behind schedule, open the room with the brawl already at its climax and give the party two rounds to act before the centaurs win it: describe the wine, the lane, and the rubble, and let one decision end the room. Eight minutes.
- Run the brawl on its own initiative counts and do not let it wait for the players. A charge on count 20 and a thrown thing on count 10 keep the room loud and moving while the party argues in the doorway, and that pressure is what makes the decision a decision.
- The wine bypass should be the most fun thirty seconds of the room. Both factions toasting the party, a maenad drinking a healing potion straight from the vial, and a centaur solemnly explaining that he was always going to share.
- This is one warband fighting itself, not an interfactional room. Do not tag it
interfactionaland do not bring a second warband in. - Clue drip. Two hooks: the casks are stamped with a palace vintner's mark and a delivery destination that is not this cavern (X08, X19), and the satyrs' rubble pile is built on a surveyor's cairn — cut stones, stacked deliberately, with a chalked bearing still legible on the underside of the top one (X14, X12).
- Table safety. The maenads are ecstatic, unafraid, and not in their right minds, and "fights until she is carried out" is a hard image at some tables. Softer framing: they are drunk and belligerent rather than god-touched, and they can be talked down, laughed down, or carried out without harm.
- Callback. The Revel of Hoof and Horn (W06) can always be bought and always prefers drinking to dying. If your table has met them before and fought them, this room is the one where they should realise they did not have to.
Creature Cards
All three belong to the Revel of Hoof and Horn (W06) and recur across the deck, so the numbers live in the bestiary. The tactics above are this room's and stay here.
Shared across rooms, so the full cards live in the bestiary: Centaur of the Split Herd, Satyr Piper, Maenad of the Vat. Every mention above opens the numbers here on this page.